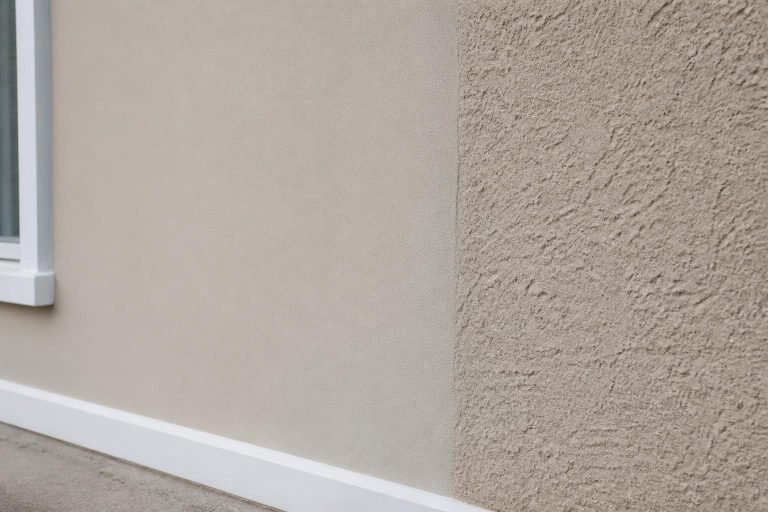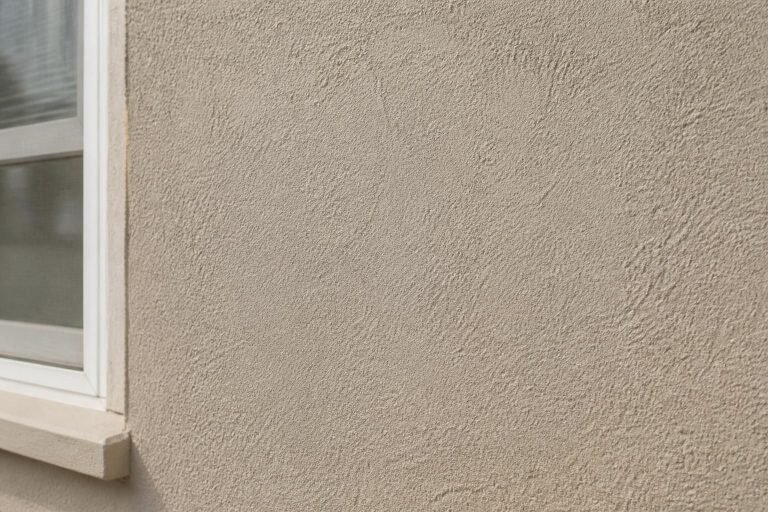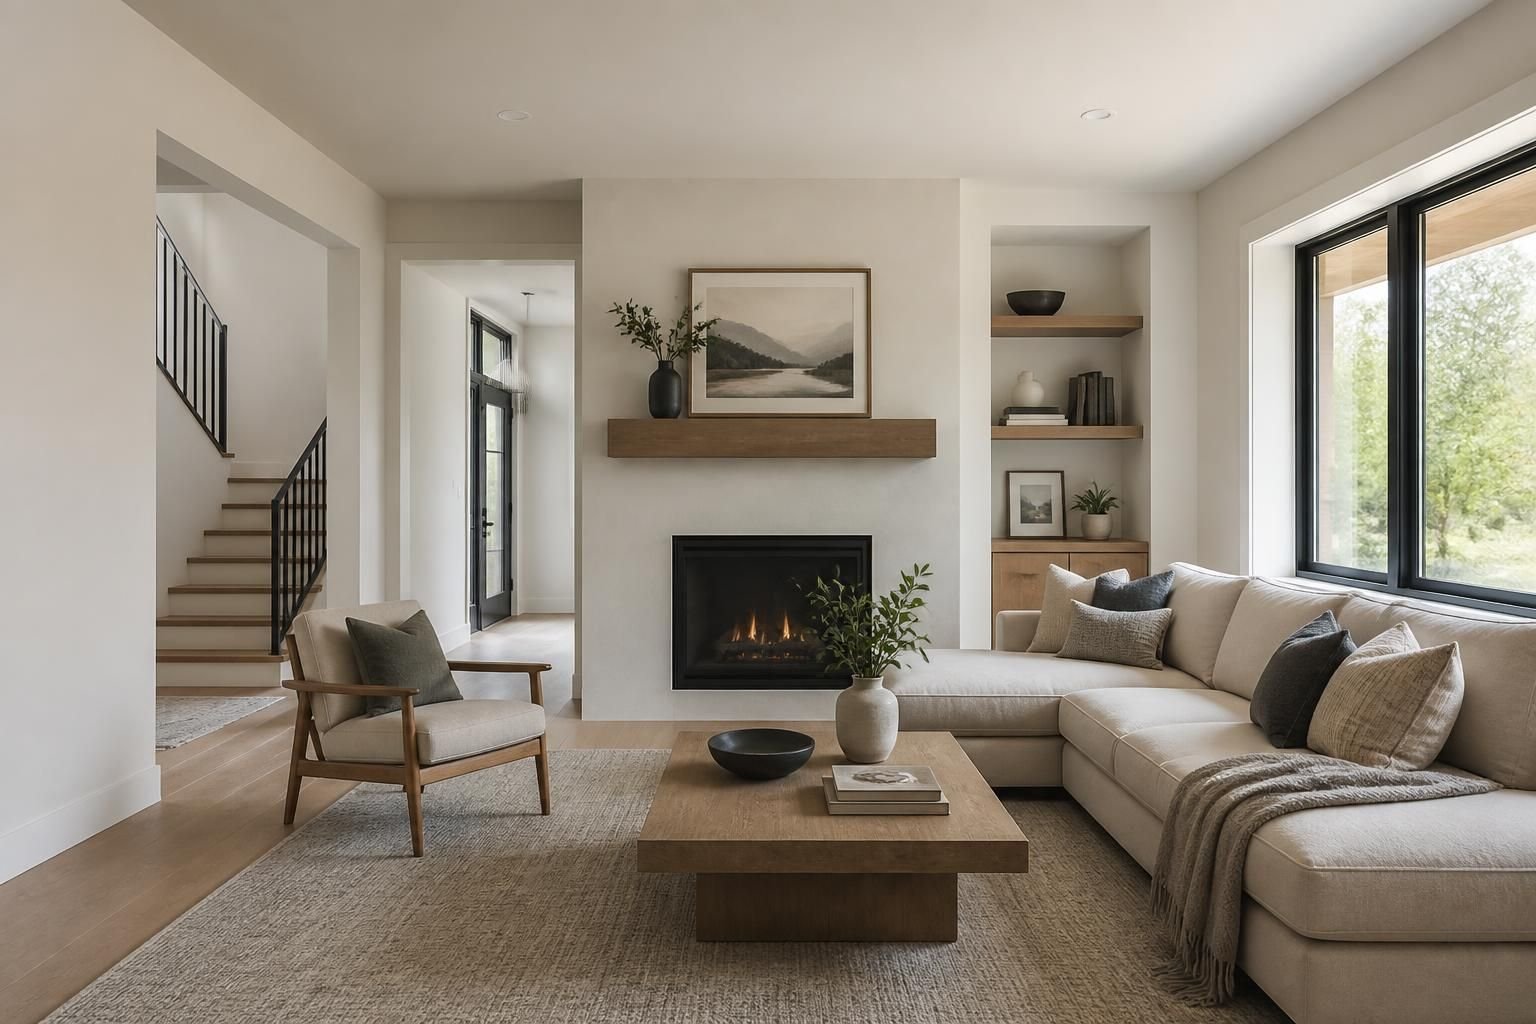
The difference between a good drywall job and a great one comes down to the finish. In Mesa’s bright, direct sunlight, every ridge, seam, and sanding mark shows, so a smooth, flawless surface is what separates professional work from an amateur patch. Whether you are finishing new walls or refreshing an existing room, here are the techniques that produce a truly smooth drywall finish.
Start With Proper Preparation
A smooth finish begins before any compound goes on. Make sure screws are set just below the surface, seams are tight, and any damaged areas are repaired. Dust and debris are the enemy of a clean coat, so vacuum and wipe down surfaces first. Good lighting matters too; a work light held at a low angle reveals imperfections you would otherwise miss.
Understand Finish Levels
Drywall finishing is graded in levels from 0 to 5. Most Mesa homes use a Level 4 finish, which is suitable for walls that will receive texture or flat paint. A Level 5 finish, which includes a thin skim coat over the entire surface, is the standard for smooth walls, glossy paint, and areas with critical lighting. Knowing which level your project needs prevents disappointment later. Our drywall finishing service covers both, matched to your space and paint choice.
Tape Seams the Right Way
Strong, smooth seams start with proper taping. Apply a bed of compound, press the tape firmly into it, and squeeze out the excess so there are no bubbles or wrinkles. Paper tape gives a strong, flat joint, while mesh tape is convenient for small repairs. A bubbled or lifted tape line will telegraph through every coat, so take your time here.
Build Thin, Feathered Coats
The single most important finishing technique is patience: apply several thin coats rather than one thick one. Each coat should be a little wider than the last, feathering the edges out so the compound blends gradually into the wall. Let each coat dry fully before the next. Rushing this step traps moisture and creates ridges that are hard to sand out.
Sand Smart, Not Hard
Sanding is where smooth finishes are won or lost. Use a fine-grit sanding sponge or pole sander, and work with light, even pressure. Over-sanding can gouge the paper face of the drywall, creating fuzz that shows through paint. Again, a low-angle light helps you spot high and low areas. A damp-sponge technique can reduce dust, which is a real bonus in Arizona homes where dust travels.
Prime Before You Judge
Never evaluate a finish before priming. A coat of quality drywall primer seals the surface, evens out the difference between compound and paper, and reveals any spots that need a touch-up. Many imperfections only appear once primer goes on, so plan to do a final light sand and spot-fix afterward.
Texture and Blending
If your walls are textured rather than smooth, the finishing goal shifts to matching the existing pattern. This is a craft of its own, and getting knockdown or orange-peel texture to blend seamlessly is where our texture matching expertise pays off. A flawless smooth finish and a perfectly matched texture both come down to the same thing: patience, the right technique, and an experienced eye.
Tools That Make a Difference
Great finishing is easier with the right tools. A set of quality taping knives in several widths lets you build and feather coats properly, while a curved trowel or a mud pan keeps your compound workable. A pole sander or sanding sponge with fine grit gives you control without gouging, and a bright, low-angle work light is the single most useful “tool” for spotting imperfections. For larger jobs, some pros use automatic taping tools, but for most rooms, patience and clean hand tools produce excellent results.
Common Finishing Mistakes
The most frequent finishing errors are rushing the coats, sanding too aggressively, and judging the work before priming. Another common issue is inconsistent feathering, which leaves visible edges where the compound meets the wall. Working in poor lighting hides these flaws until the paint goes on and it is too late. Taking the time to check your work under raking light at each stage prevents almost all of these problems.
Finishing in Arizona’s Dry Heat
Mesa’s dry climate makes joint compound set up faster than the label suggests, which can be both a blessing and a curse. Faster drying means quicker projects, but it also means compound can stiffen before you finish smoothing it, leaving ridges. Working in smaller sections, keeping your tools and mud clean, and not over-thinning the compound all help. In the hottest months, avoid finishing in a space with no climate control, since extreme heat accelerates drying to the point where a smooth, blended finish becomes difficult.
Why Primer and Paint Choice Matter
Even a flawless finish can be let down by the wrong primer or paint. A dedicated drywall primer, sometimes called a PVA primer, seals the porous compound and paper so the topcoat goes on evenly and hides the difference between patched and original areas. Skipping it often leaves dull, uneven spots that show through the final color. For walls in bright Arizona rooms, a quality primer plus two even coats of paint gives the most consistent, professional-looking result.
Why Many Mesa Homeowners Call a Pro
Smooth finishing is deceptively difficult and extremely unforgiving under Arizona light. For new construction, remodels, or any room where the finish really matters, professional results are worth it. Mesa Elite Drywall delivers smooth, paint-ready walls across Mesa and the East Valley, from Las Sendas to Downtown Mesa. Explore our full range of services, or request a free estimate and call+1-480-690-2749 to get started.