A hole in the drywall is one of the most common repairs in any Mesa home. A doorknob swings too far, a piece of furniture gets bumped into the wall, or an old anchor pulls out and leaves a ragged opening. The good news is that many small holes are a manageable project, and knowing how the process works helps you decide when to DIY and when to call a professional. Here is a practical, step-by-step guide for Mesa homeowners.
Match the Repair to the Size of the Hole
Not all holes are equal. A tiny nail hole needs little more than a dab of spackle, while a fist-sized hole or larger requires a backing patch and proper finishing. As a rule of thumb: pinholes and dents are filler-only, holes up to a couple of inches can be handled with a self-adhesive mesh patch, and anything larger needs a drywall patch cut to fit. Holes bigger than about six inches, or damage near electrical and plumbing, are best left to a professional drywall repair crew.
Gather Your Materials
For a medium hole you will need a drywall patch or a piece of scrap drywall, a utility knife, a drywall saw, joint compound (mud), a putty knife, mesh or paper tape, sandpaper, and primer. Having everything ready before you start keeps the job clean and prevents half-finished walls.
Step-by-Step: Repairing a Medium Hole
1. Square off the damage. Use a drywall saw or utility knife to cut the ragged hole into a clean square or rectangle. Straight edges are far easier to patch than jagged ones.
2. Add backing if needed. For larger openings, insert a small piece of wood behind the hole and screw the surrounding drywall to it, giving your patch something solid to attach to.
3. Cut and fit the patch. Cut a piece of drywall to match the opening and secure it to the backing with drywall screws, keeping the screw heads just below the surface.
4. Tape the seams. Cover the joints with mesh or paper tape, then apply a thin first coat of joint compound over the tape and screws.
5. Build up thin coats. Apply two or three thin coats of compound, letting each dry and feathering the edges wider each time. Thin coats look far better than one thick one.
6. Sand smooth. Once dry, sand the area until it is flush with the surrounding wall. Wipe away dust before priming.
The Hardest Part: Texture and Paint
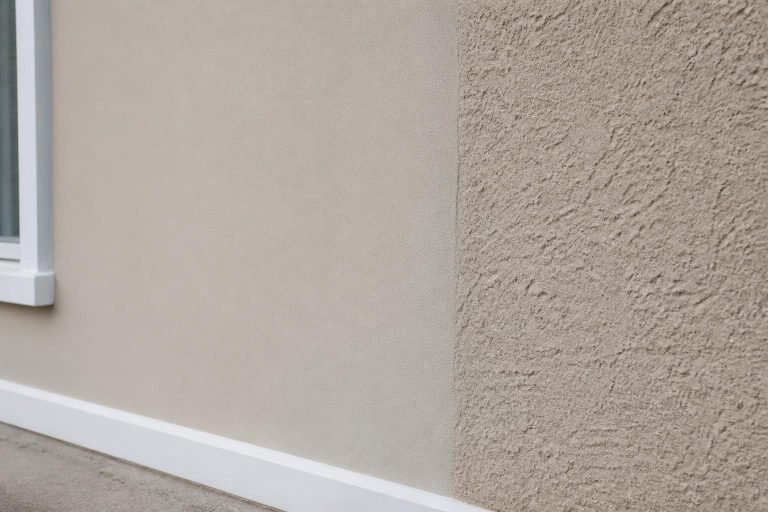
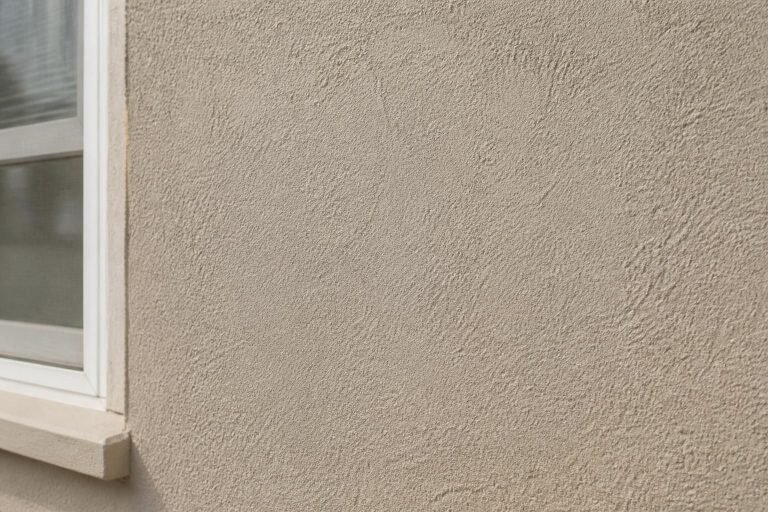
In most Mesa homes, the wall is not perfectly smooth; it has a knockdown, orange-peel, or hand-applied texture. This is where DIY repairs most often go wrong. A perfectly patched hole still stands out if the texture does not match, especially under Arizona’s bright natural light. Matching texture takes practice and the right tools, which is why texture matching is one of the most valuable parts of a professional repair. After texturing, prime the patch and paint. Because paint fades over time, you may need to paint the entire wall corner to corner for a seamless finish.
When to Call a Pro
Consider calling a professional if the hole is large, if there are several holes, if the damage involves water or a water-damaged area, or if matching the texture feels out of reach. Pros also save you time and mess, and the finished result protects your home’s value. For homeowners preparing to sell or refinance, flawless walls matter, and a visible patch can undercut a great first impression.
Common Mistakes to Avoid
Most failed drywall repairs come down to a few avoidable errors. Applying joint compound too thickly is the biggest one; thick coats crack, shrink, and take forever to dry. Skipping primer before painting is another, since bare compound absorbs paint differently than the surrounding wall and leaves a visible “flashing” spot. Over-sanding tears the paper face and creates fuzz, while under-sanding leaves ridges that catch the light. Finally, ignoring the texture step almost guarantees a patch that stands out. Slowing down and respecting the dry times between coats makes a dramatic difference in the final result.
How Long Does a Drywall Hole Repair Take?
Time is mostly about drying, not labor. A small hole can be filled in minutes, but each coat of compound needs several hours to dry in Mesa’s climate, and most repairs need two or three coats. That means even a simple patch is usually a one to two day project once you factor in drying, sanding, priming, and painting. Larger repairs or full walls take longer. Professionals speed this up with the right compounds and technique, but no one can safely rush the curing process without risking cracks later.
Preventing Future Wall Damage
A few simple habits reduce future repairs. Install door stops so knobs cannot punch the wall, use proper anchors when hanging shelves or art, and add felt pads or bumpers behind furniture that sits against walls. Address roof and plumbing leaks quickly before they stain and soften drywall. And in a dry desert climate, keep an eye on corner beads and seams, which can loosen over time. Catching small issues early keeps them from turning into the kind of damage that needs a full patch.
Get Help From a Local Mesa Team
Mesa Elite Drywall repairs holes, cracks, and damaged drywall throughout Mesa and the East Valley, from Eastmark to Dobson Ranch and every neighborhood we serve. Whether you want a single hole fixed or a whole room refreshed, we deliver clean, texture-matched results with no obvious seams. See our full range of drywall and stucco services, then request a free estimate or call+1-480-690-2749 to talk with a local drywall team.